Modifications to my John Deere 750 Compact Diesel
I bought my John Deere 750 new in April of 1988. It came with a 375 front dozer/snowplow blade, a Howard rototiller and a Woods M5 rotary mower. After using the blade to plow snow for a few years, I got a big plow for my pickup and no longer really needed it. I got a 67 loader and put on the tractor and it has been MUCH more useful.
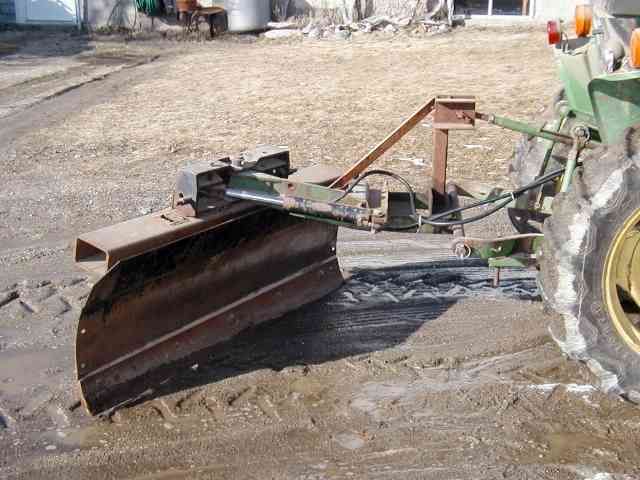
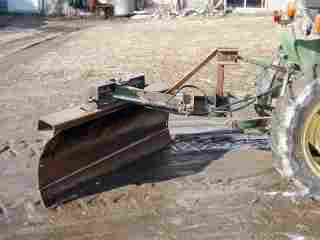
| The blade sat around for several years until I decided to modify it for use as a rear blade. I was able to retain the power angle function in a modified form, and after some inadvertent "test to destruction" action and subsequent redesigning/reinforcing, it works very well. The only fly in the ointment is that in order to power the cylinder for the power angle, I have to unhook the lines to the bucket curl circuit and use that valve to power the blade angle. Not completely unsatisfactory, but not the ideal situation either. (Click on any image to see a larger view) |
 |
After teaching myself a bit about hydraulics (Parker/Hannefin makes an excellent manual, Industrial Hydraulic Technology Second Edition Bulletin 0232-B1, available used through Amazon.com) I decided to add a dual selector valve and have the option of running either the bucket or the blade without having to switch hoses.
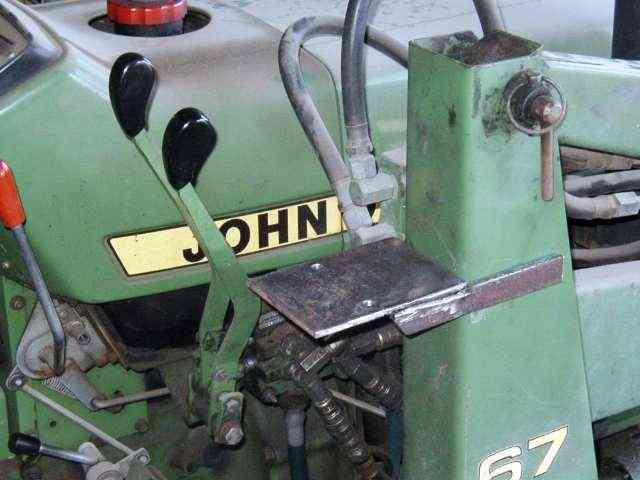
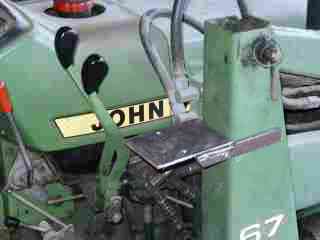
| The best place to mount the new valve was on the loader tower next to the existing control valves. Here is the mounting bracket temporarily in place to check fit and clearance. (Click on any image to see a larger view) |
 |
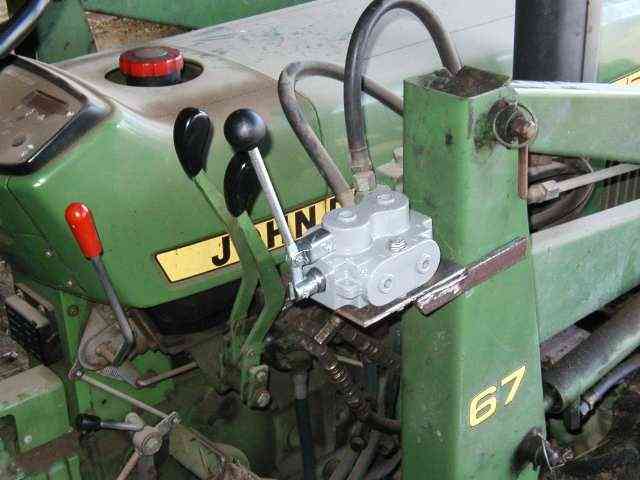
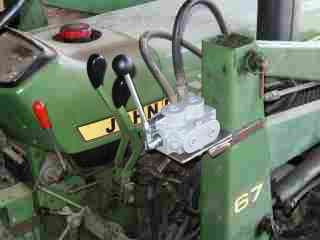
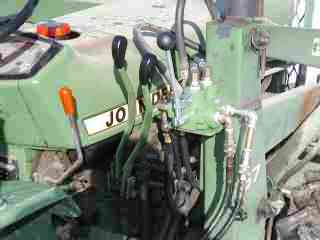
| Here is a shot with the valve mounted. The valve is a Prince unit, available from Surplus Center
|
 |
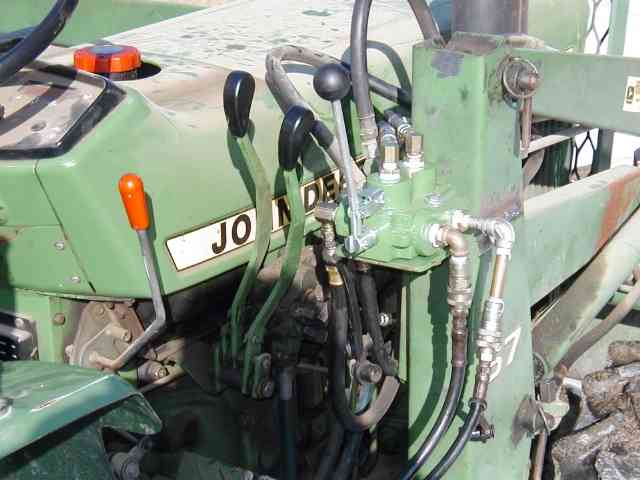
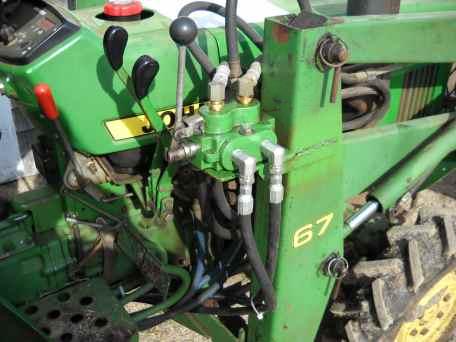
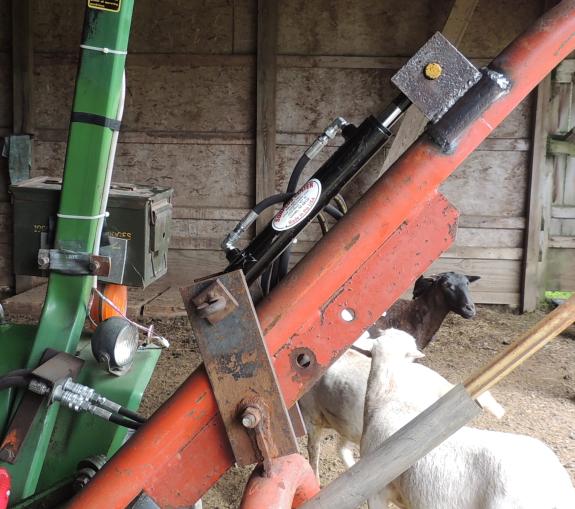
| Here is the valve mounted, painted and plumbed. NOTE: The plumbing shown on the outside is temporary to prove the concept. I will replumb it with the proper high pressure fittings, now that I know what I need. It will also be plumbed closer to the valve body, as I expect it'll be susceptible to damage from trees, etc sticking out that far. |
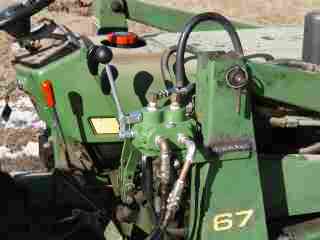 |
| Another view, showing the relative positions of the three valves. With the handle of the new valve pushed forward, the outer handle on the original operates the bucket curl on the loader. With the new valve handle to the rear, the original operates the power angle on the back blade. The finished project will also have the hoses permanently plumbed to quick connects on the rear of the tractor so that any hydraulically operated rear implements I may come up with later can be operated from the new plumbing. That should also neaten up the plumbing at the valve considerably. |
 |
| Well, it's only been a couple of years, but I finally got around to replumbing the remotes. 90 degree swivels to 3/8" hose, tucked in with all the other hoses and cable-tied in place. |
 |
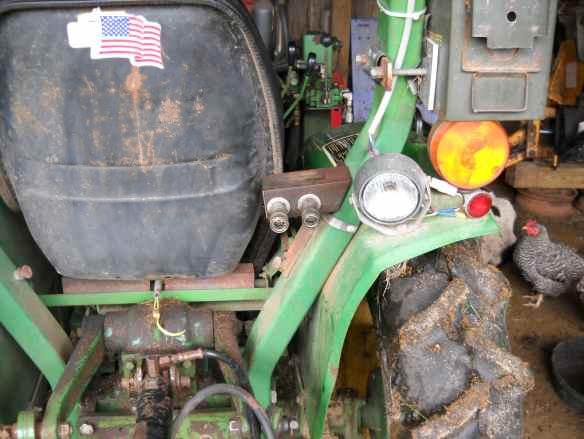
| And it all comes out here, tucked in out of harms way, and much more convenient to hook up. |
 |
| One of the best uses for the rear remotes is a hydraulic top link. It allows me to adjust the angle of my box blade to control whether it grades or cuts, and if cutting how much. . |
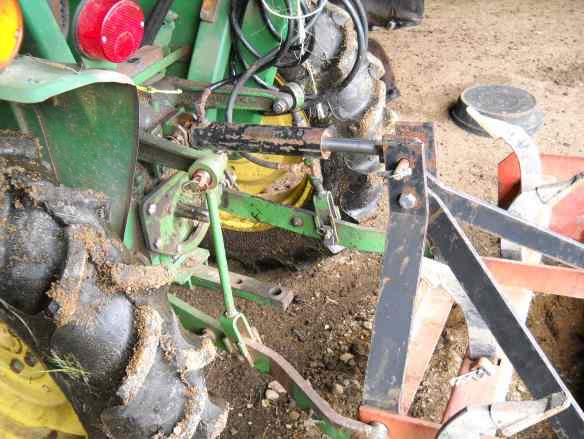 |
| The rear outlets also come in handy for a power-down cylinder on my post hole digger. The cylinder fits between the movable hoop that hooks to the arms on the three point hitch and a fixed point on the PHD boom. It works in conjunction with the 3PH to transfer tractor weight to the boom. |
 |
| The skidplate I installed after replacing the tierod twice. High-centering over stumps while bushhogging is not a good thing to do. Toward the top of the picture you can see the grille guard I installed. AFTER I pranged the hood while lifting the rototiller out of my truck... |
 |
Snowplow and Forklift Attachment
Building a new loader bucket
Back to home page